Web Surveys 2 — Launching Survey Widgets on your Website
In this article:
- Enabling survey widgets on your site — in 2 steps.
- Testing and previewing Web Surveys.
- Identifying site visitors.
- Throttling.
- Content Security Policy (CSP) & Delighted Surveys.
- Platform Specific Guides.
Web distribution FAQs
- Can I control who sees the surveys and how often?
- Are cookies used in Web surveys?
- Can I change the appearance and placement of the Web survey on the page?
- How can I see detailed information about why a survey is or is not showing?
- Can I track the number of impressions the Web survey is getting?
- How long will you display the Thank you page?
- What happens when a respondent dismisses the web survey?
Suggested next articles:
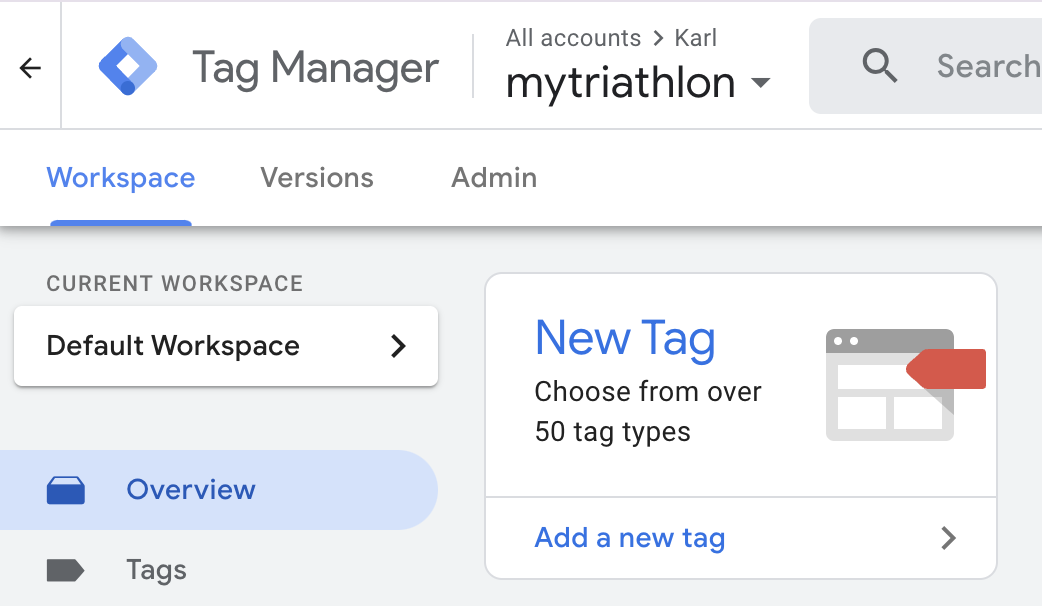
Enabling survey widgets on your site — in 2 steps
One snippet. Endless widgets!
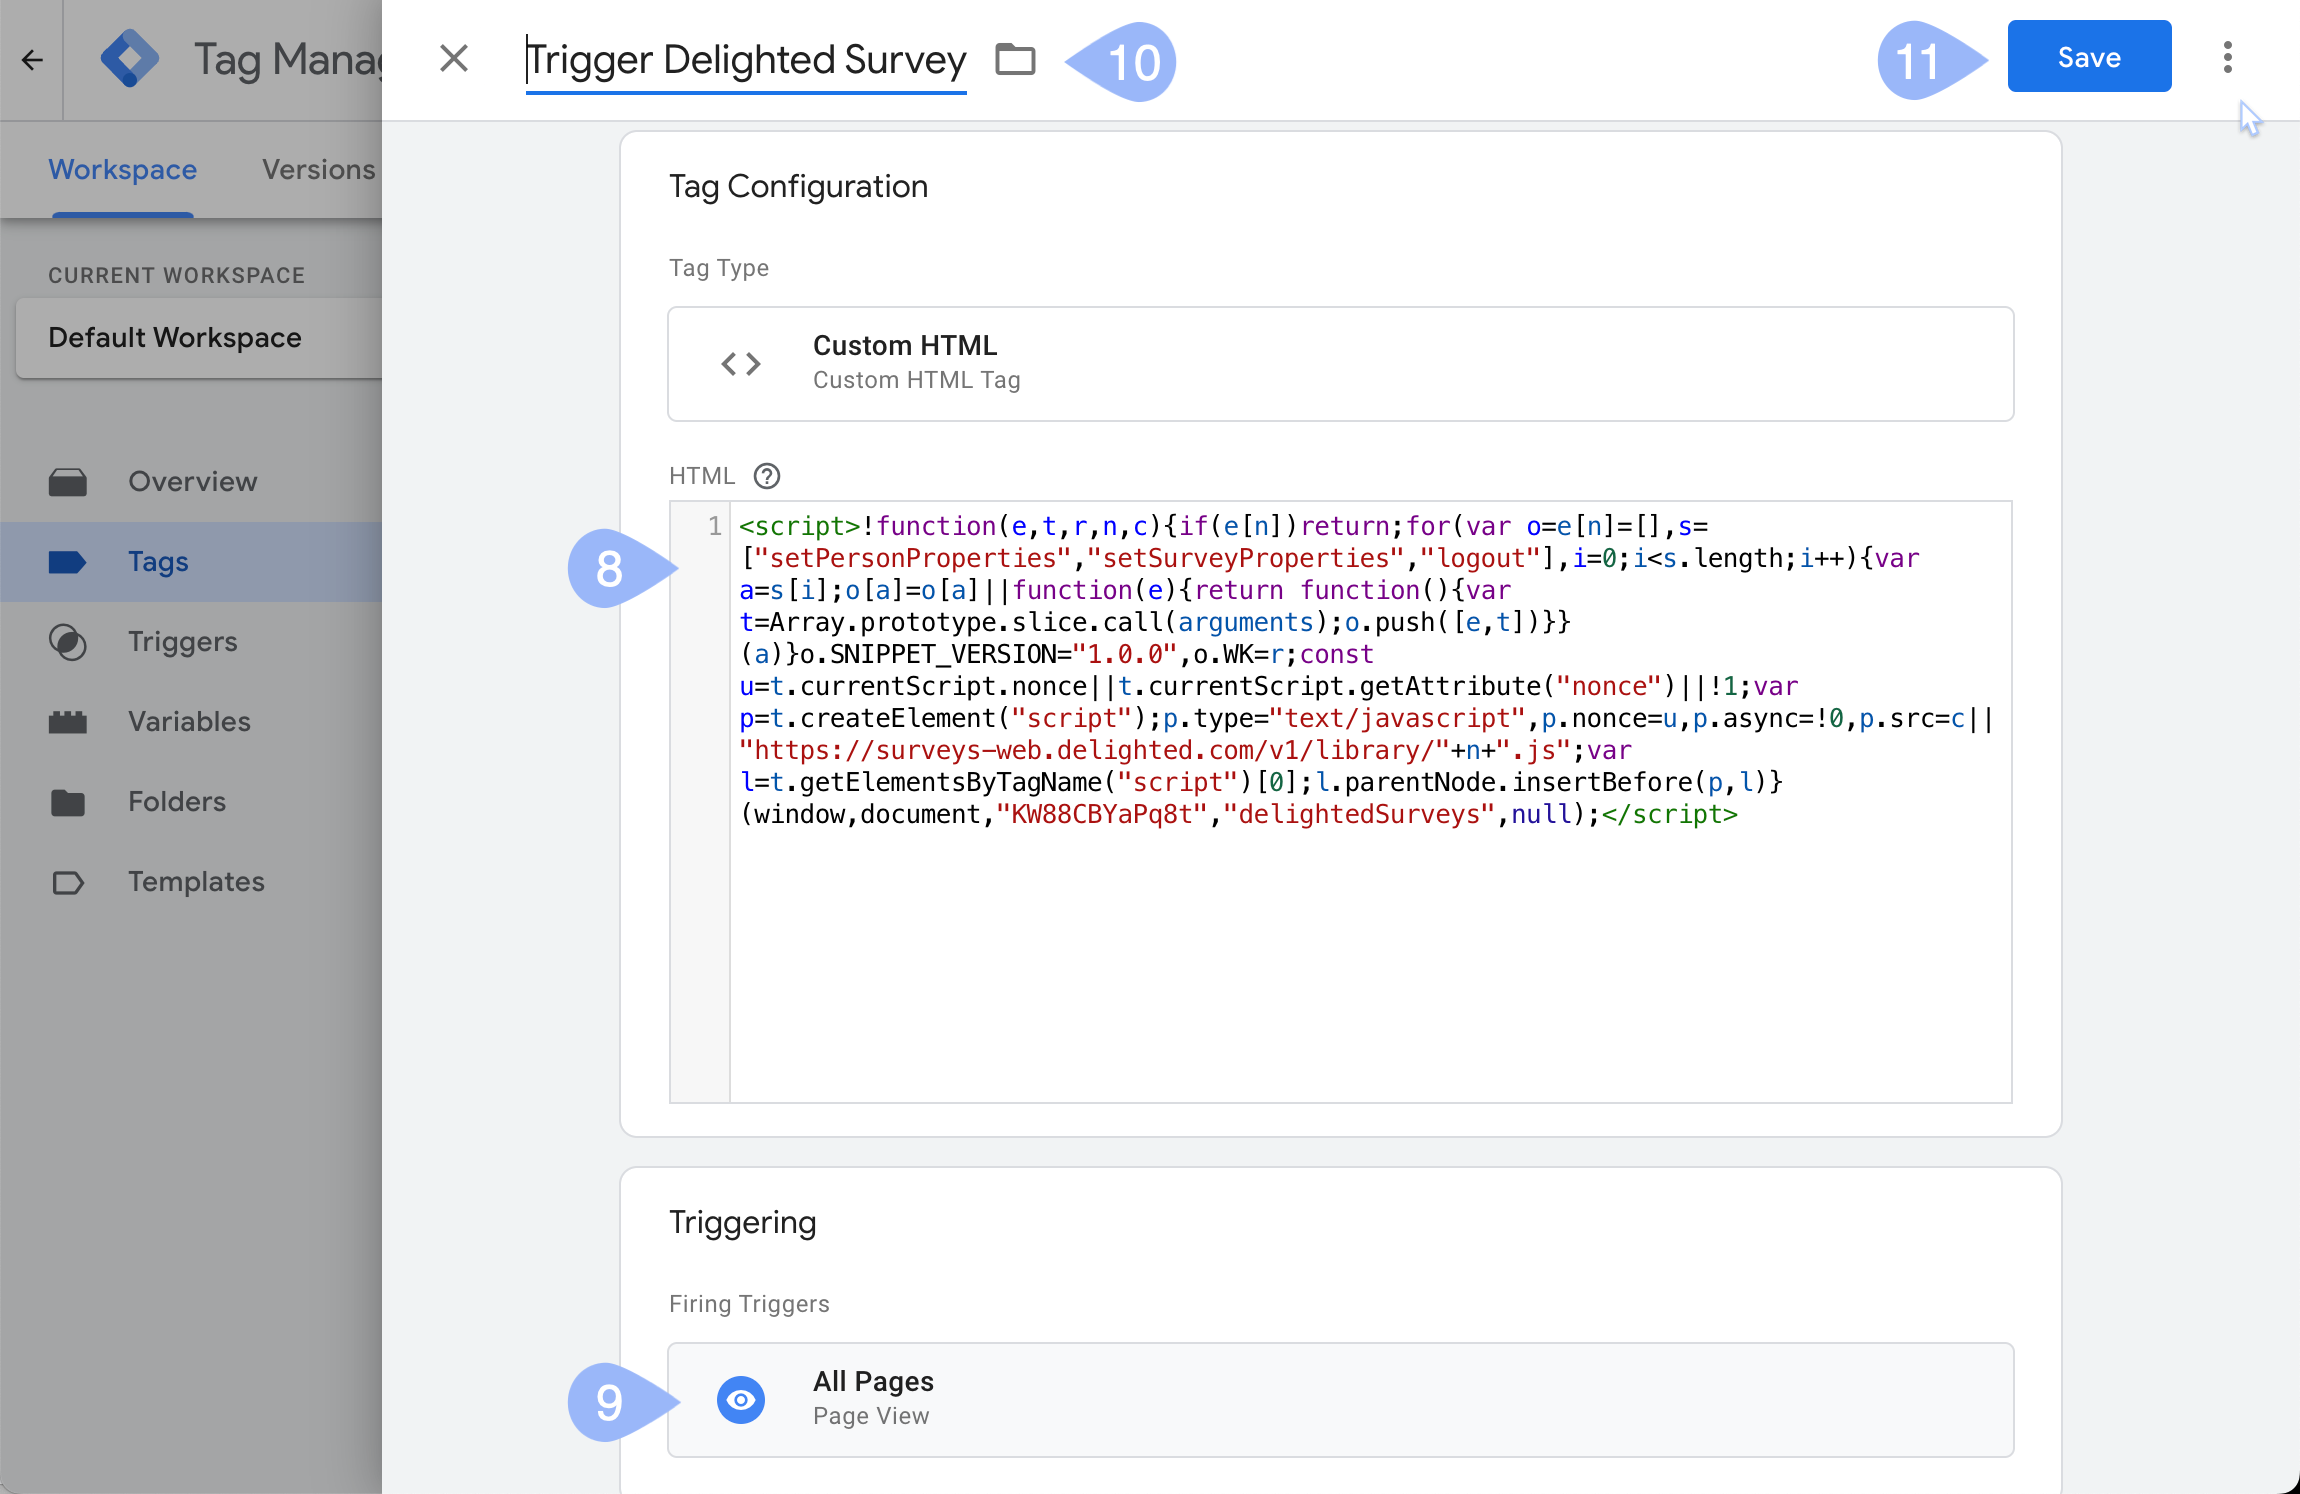
Each Delighted Surveys account provides a single, super-easy-to-copy JavaScript snippet. This snippet lets you launch survey widgets on any page on your website.
- No need to mess with your original code snippet again — just paste it (in the right spot!), and start collecting valuable feedback
- Update, add, or even replace your Delighted Surveys widgets anytime – flexibility at its finest
-
See how your Widgets can interact with your site! Head over to our Surveys Web Playground where we showcase 10 survey widgets matched up with 10 of the most popular Surveys Templates.
Step 1: Embed your snippet
Copy your account's snippet found the bottom of the "Configure web widget" panel.
And then jump to Embedding your JavaScript snippet on your website and learn how to add the snippet directly into your HTML or enable your survey through your third party provider (such as Shopify, Squarespace, and Google Tag Manager).

Step 2: Target your site's URLs with your survey widgets
With your JavaScript snippet safely on your site — start assigning your survey widgets to appear on their targeted website pages!
For this you'll use the "Targeting" → "Pages" section of the "Configure web widget" panel. And don't forget to click "Save changes" to finish. (Jump to Adding and removing survey widgets from specific pages to learn more.)

1. Embedding your JavaScript snippet on your website
There are two common methods for embedding the snippet:
| Embedding | Description | |
| A | Within your HTML | Place your survey's JavaScript snippet in an inline script block within your HTML file. (This avoids an extra HTTP request) |
| B | Through your third-party platform | Third-party hosts will provide specific instructions for inserting and referencing external JavaScript files — ex. Shopify, Squarespace, and Google Tag Manager
Note: Platform providers will have specific placement instructions for your survey's snippet. Visit our Platform Specific Guides to learn more. |
A. Within your HTML
To integrate your Surveys' JavaScript snippet to your website's HTML:
- 1
- Access to your website's codebase → typically managed through a Content Management System (CMS) or by directly editing the HTML files
- 2
-
Look for the header or
<head>section in your website's HTML (ex. file often namedindex.html) - 3
-
Within the
<head></head>tags, locate an appropriate placement to ensure the snippet executes early in the page load
B. Through your third-party platform
If your website runs on a hosted platform like Shopify, Squarespace, or Google Tag Manager, take a peek at our guides for a quick and easy install:
-
Note: Wish to install Delighted Surveys on another platform? Give us a shout and we’ll lend a hand.
2. Adding and removing survey widgets from specific pages
Assign your survey widgets to appear on specific website pages in the "Targeting" → "Pages" section of the "Confiure web widget" panel.
Add the URL(s) of the page(s) where you want the survey to appear. Use the wildcard character (*) as a placeholder for any values, numeric or text, found in an URL. Here are a couple of examples;
-
https://mysite.com/order/*/confirm/*will show surveys on both:https://mysite.com/order/1234/confirm/56andhttps://mysite.com/order/9876/confirm/54
https://mysite.com/dashboard/*will show surveys on both:https://mysite.com/dashboard/newandhttps://mysite.com/dashboard/existing/789
Disable and enable surveys as needed
"Disable" older surveys and "Enable" new ones with the toggle found in each Delighted Surveys Web distribution tile. Add a survey to multiple pages on your site, or create unique survey for each page. It's up to you!

Delete a survey from a page
Delete a survey from one, or all of your targeted pages, by clicking the X next to the URL and "Saving" your changes.

-
Updating and re-configuring your surveys widget You can always control who is surveyed and how the survey appears in our user-friendly configuration panel. Change how you target your visitors, set new display behaviors, and revise your survey's appearance — in seconds.
Review our step-by-step article, Web Surveys 1 — Creating, Configuring & Enabling the Widget and see how easy it is to update, re-configure, test, brand, and re-enable your Web Surveys — with no technical skills required!
-

Testing and previewing Web Surveys
Test Mode
You can force the survey to show in your browser by simple appending ?delighted=test to the URL. This special mode will show you the survey every time you call delighted.survey(), regardless of the options you pass. It overrides throttling and rate of display. Testing only affects your own view of the page and survey. Learn more about testing your snippet in the Surveys Help Center.
Test and preview Web surveys either before or after you turn on the distribution method from within your account.
To test and experience the Web platform:
- 1
- Make sure the snippet is added to your website
- 2
- Head to the URL(s) where you plan to show your Survey. Add ?delighted=test to the end of the URL
- 3
- Reload the page
- 4
- See the Survey appear
Notes on testing
- We recommend previewing and testing the Web survey with your developer console open. We will display console messages that share more information about the survey display rules
- Keep in mind that using ?delighted=test will override the eligibility checks and force the survey to display, but it will not override any logic you have included before delighted.survey() is called. If you’re not seeing the web survey display, double check that you don’t have targeting logic precluding the survey even launched!
- If you're using a Single Page Application, test instead by opening the console and writing the command document.cookie = "_delighted_tst=1". Reload the page and test the survey!
Identifying site visitors
If you’d like to identify respondents (e.g. logged in users), include the following function anywhere on the page after your web snippet. Replace email@example.com with the visitor’s email address.
<script type="text/javascript">delightedSurveys.setPersonProperties({"email": "test@delighted.com"});</script>
This web snippet automatically calls the delighted.survey() function, so the function above can be added without modifying your web snippet.
Currently, customer metadata (i.e., properties) cannot be sent from your website/app to Delighted Surveys. However, support for this functionality is being developed and an additional function will be added to our documentation when the feature is available.
Throttling
Throttling intentionally limits how often a particular respondent can take a survey. Throttling helps maintain data quality, prevent abuse, and manage resources for a more reliable and controlled survey experience.
How throttling works
Before we show a survey, we will make sure a respondent has not already received a survey from you within the time period you specify — ex. 1 month, 3 months, 1 year. (The default in Surveys is 1 month.) Throttling is managed with a cookie named _delighted_web which our Web snippet stores in a respondent's browser, which tracks when they've completed the survey.
Throttling is locked for your protection! Why you ask? Because throttling applies across all of the Surveys configured in your account. To "Confirm" the warning, you'll need to unlock the Throttle settings before you make a change:
To unlock and select a new "throttle" setting:
- 1
- Click the lock → visible to the right of the drop-down menu
-

- 2
- Select "Confirm" in the warning → that simply says your new setting will apply to every survey in your account! (Are you sure you want to do that?)
-

- 3
- Pick your new throttle setting → anywhere from "1 month" to "1 year"
-


Why throttle?
There are several reasons to consider throttling:
Data Quality: Throttling can prevent someone from taking the survey multiple times in a short period. Repeated responses from the same person can skew results. Throttling helps ensure you get a wider range of unique responses for more accurate data.
Preventing Abuse: Some respondents might try to answer a survey multiple times to influence the results. Throttling discourages this by limiting submissions.
Managing Resources: Surveys can consume resources on servers. Throttling helps prevent overloading by limiting the number of responses within a specific timeframe.
Content Security Policy (CSP) & Delighted Surveys
A Content Security Policy (CSP) is a security feature you can add to your website to help prevent malicious attacks like code injection. It works by telling your browser which resources (like scripts, stylesheets, images) are allowed to load on your webpage, and from where. This restricts websites from loading unauthorized content that could potentially harm users or steal data.
CSP is a valuable security tool that can help protect your website and your users. However, it's important to understand how it works and implement it carefully to avoid unintended consequences.
Let's break it down with examples from Delighted Surveys:
| Directives | Explanation |
| default-src 'self' | This is the default rule and sets the source for all resources (scripts, styles, images, etc.) to only be loaded from your own website's domain (e.g., [invalid URL removed]) |
| base-uri 'self' | This restricts where a page can base its links (like relative paths in <a> tags or <img> tags). It prevents attackers from injecting links to malicious content |
| script-src 'nonce-rAnd0m' | This directive specifies that only scripts with a specific nonce attribute (a random string like "rAnd0m" in this example) will be allowed to run. This helps prevent attackers from injecting their own scripts because they wouldn't have the matching nonce |
| style-src 'self' 'unsafe-inline' surveys-web.delighted.com | This allows stylesheets from your own domain (self) and also allows inline styles within your HTML code (unsafe-inline). Be cautious with unsafe-inline as it can be a vulnerability if not used carefully |
| img-src 'self' | This restricts images to only be loaded from your own domain |
| connect-src 'self' surveys-web.delighted.com | This specifies that your website can only connect to resources on its own domain (self) and also allows connections to the Delighted Surveys domain (surveys-web.delighted.com). This is likely needed for the Delighted Surveys functionality to work properly |
Benefits of CSP
CSP helps to protect your website and your users from data breaches and other security vulnerabilities. You have more control over what content is loaded on your website. By restricting resources, CSP makes it harder for attackers to inject malicious code into your website.
Considerations
Setting up a CSP can be complex and requires careful configuration to avoid breaking your website. If the CSP is too restrictive, it might prevent legitimate resources from loading, causing errors on your website.
You might need to adjust your CSP to allow connections and resources from third-party services you use on your website (like Delighted Surveys in this case).
Platform Specific Guides
Add Delighted's Web Surveys to your hosted site in seconds — we've already written the code for you!
If you're on Shopify, SquareSpace, or Google Tag Manager, setup takes just a few seconds, literally! Just follow the steps below.
- And if you need help with another platform? Contact us. We're here to help!
Shopify
The Survey Web snippet for Shopify will run across your website — through it’s not compatible with your site’s check-out pages at present.
- If you’d like to embed a survey directly into your checkout flow and on your order confirmation page, join our Shopify Checkout Integration waitlist.
- 1
- Copy your Web snippet from Delighted Surveys
- 2
-
Login to your Shopify dashboard → https://admin.shopify.com/

- 3
- In the navigation bar to the left → choose “Online Store” under “Sales Channels”
- 4
- When the page refreshes → select “Themes”
- 5
-
Edit your current theme → by selecting the ‘...’ menu icon to the left of the black “Customize” button

- 6
-
When the menu unfurls → select “Edit code”

- 7
- When the page refreshes → select “theme.liquid” from the layout menu
- 8
- Add a blank line between the <head></head> tags (ex. at the top of the page below the <head> tag)
- 9
- Paste the Surveys JavaScript snippet into the blank line into the code
- 10
-
Save your changes


-
Watch how it's done in 33 seconds: https://share.zight.com/qGub0E1B
Squarespace
There are two ways to add your JavaScript Web snippet into your Squarespace pages:
-
Control which pages will display your Widgets in Surveys!
If you choose A. Code injection into an entire site, you can still control which pages see your widget within the "Configure web widget" panel. Read all the details in 2. Adding and removing survey widgets from specific pages.
A. Code injection into an entire site
- 1
- Copy your Web snippet from Delighted Surveys
- 2
-
Login to your Squarespace dashboard → https://account.squarespace.com/ .

- 3
- Select the website → where you want to inject your JavaScript snippet
- 4
- In the navigation bar to the left → choose “Pages” under the “Website” tab
-

- 5
- Roll down → and select “Website Tools”
-

- 6
- Pick “Code Injection”
-

- 7
- In the "HEADER" box → paste your code snippet
-

- 8
- "Save" your changes
- Watch the entire process in 14 seconds!
-


B. Code injection into a specific page
- 1
- Copy your Web snippet from Delighted Surveys
- 2
-
Login to your Squarespace dashboard → https://account.squarespace.com/
- 3
- In the Website editing view → select your "Pages" settings
-
- 4
-
Hover down to the page where you want to embed the script → (ex. the "Contact" page)
- 5
- Click the "Gear" icon → to access the Pages Settings
-

- 6
- In your Pages Settings → hover down and select "Advanced"
- 7
- Paste your snippet in the "PAGE HEADER CODE INJECTION" code box
-

- 8
- Click "Save"
- Watch the entire process in 17 seconds!
-


-
How will your Surveys widget appear?
Look at how classy our Surveys widget looks inside a preview of a Squarespace designed "Contact" page template! (Pardon our enthusiasm.)
 Squarespace + Delighted Surveys — a winning combination, right?!
 Squarespace + Delighted Surveys — a winning combination, right?!
Google Tag Manager
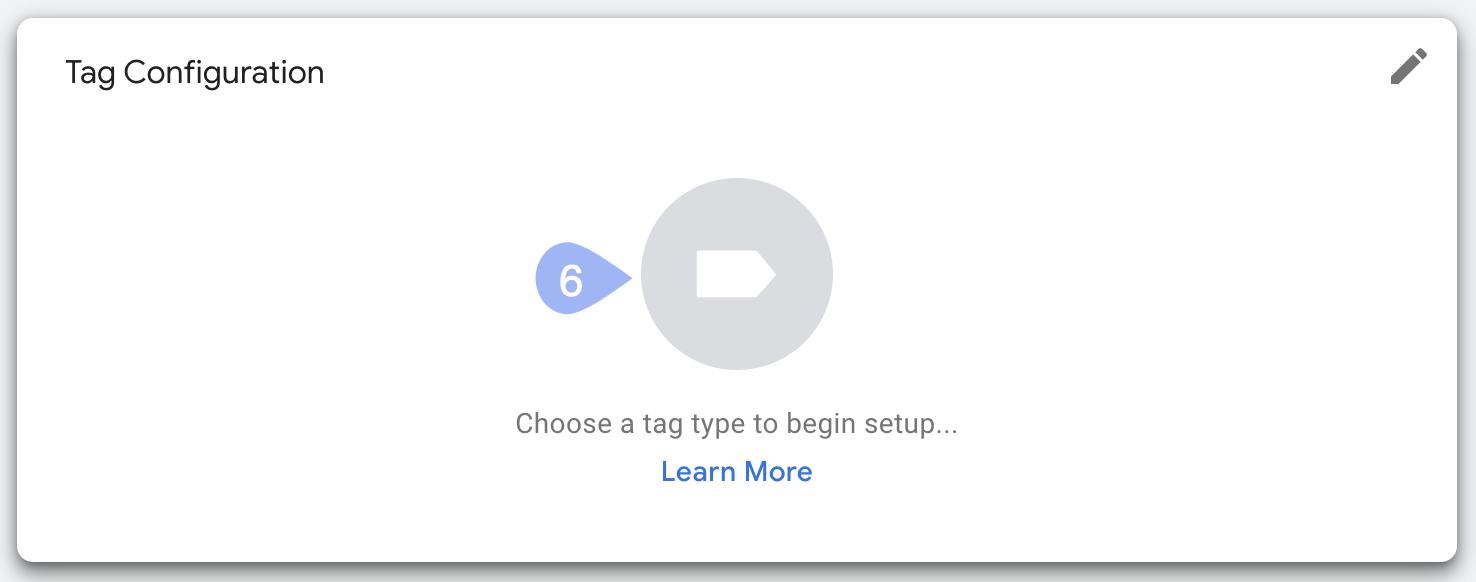
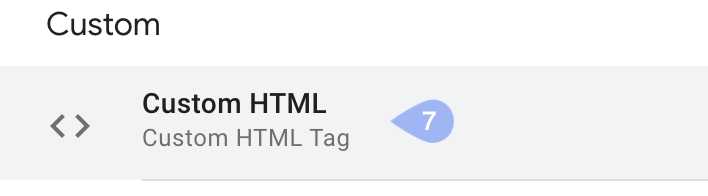
Here's how to embed a JavaScript snippet into Google Tag Manager (GTM) to trigger a Delighted Surveys web widget:
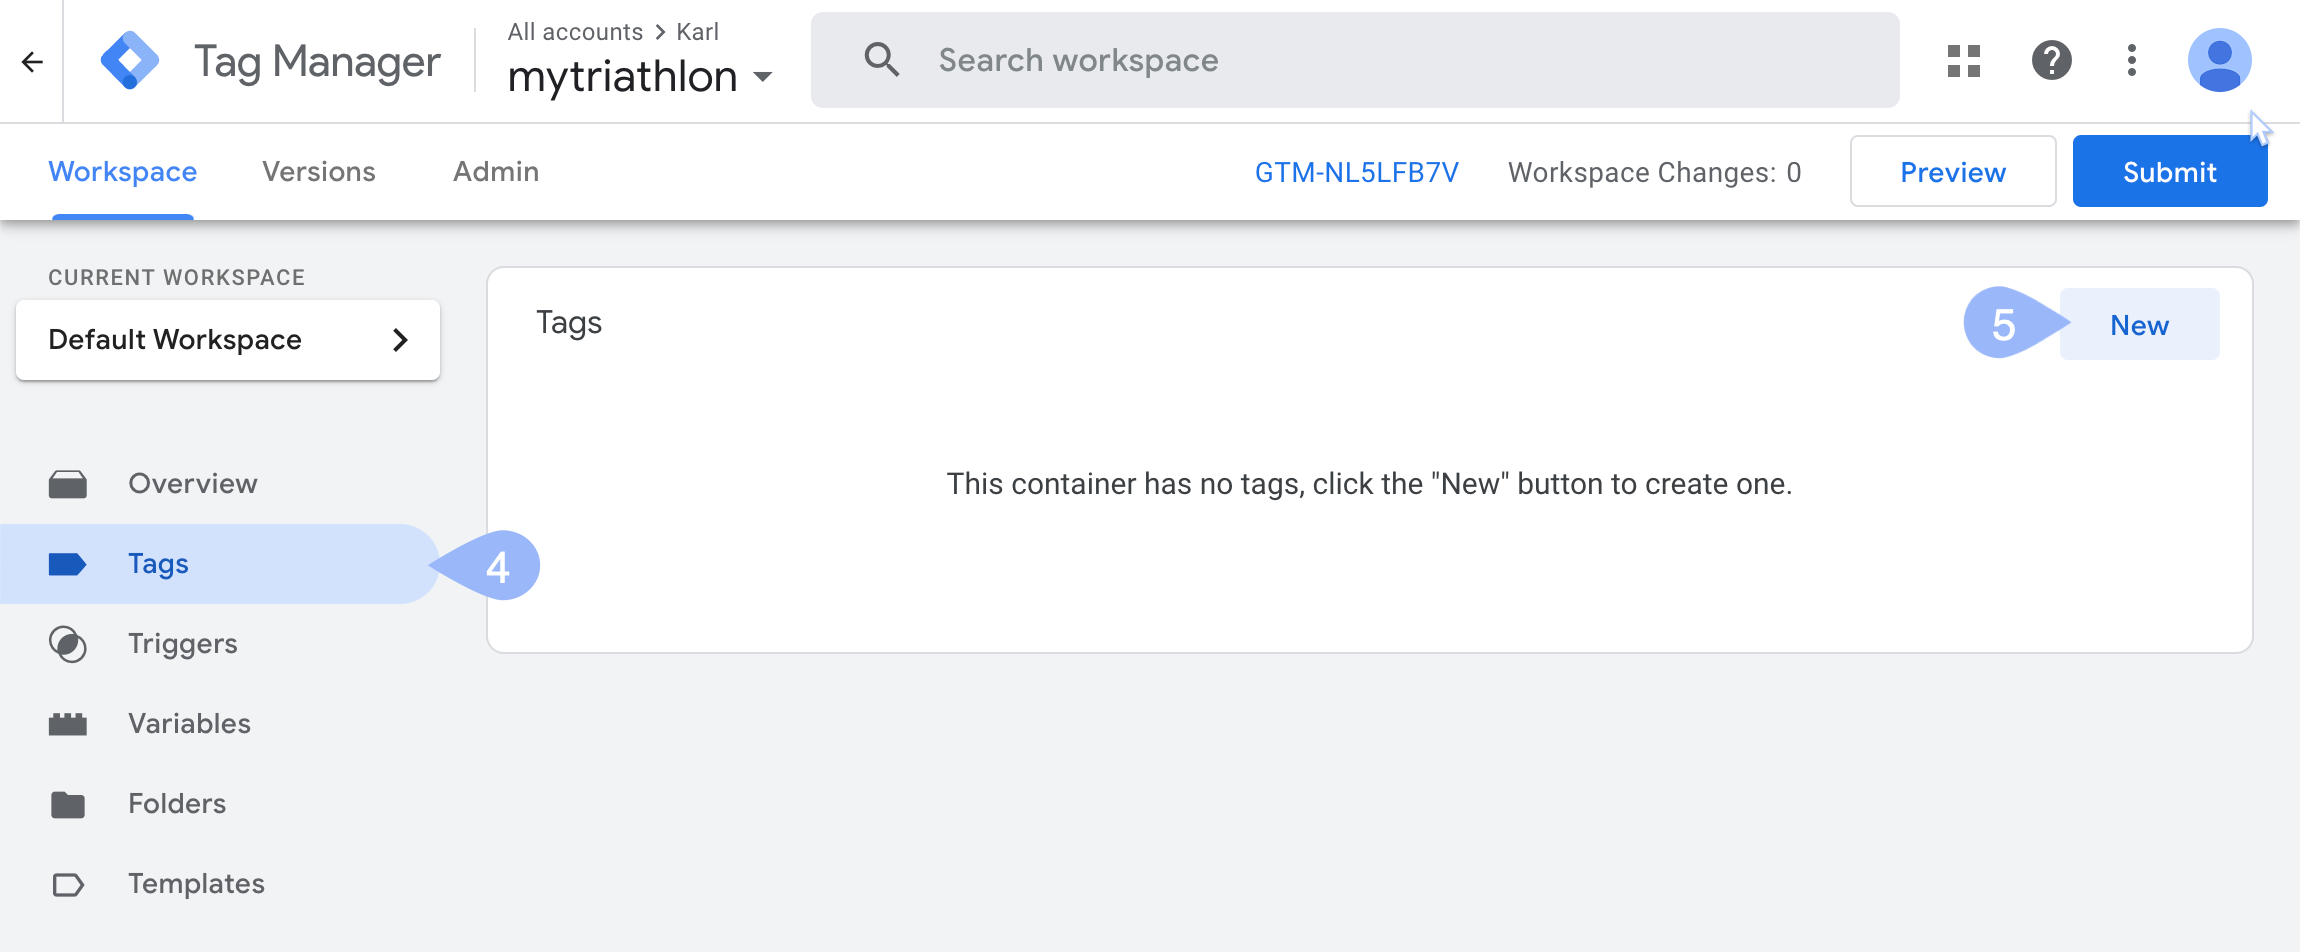
-
View all the steps in 36 seconds: https://share.zight.com/eDuK2pBZ
- Preview and Testing: Use GTM's preview and debug mode to test if the tag fires correctly and triggers the Delighted Surveys model as intended
- Targeting: Return to Surveys and set your targeting options and triggering behaviors in the "Configure web widget" panel
Can I control who sees the surveys and how often?
Yes!
There are two Targeting controls that will gate who is surveyed and when:
| 1 | Sampling | The percentage of visitors eligible for the survey (who also meet all other Targeting conditions) |
| 2 | Throttling | A global setting applied to all surveys in your account. Throttling prevents any single contact from seeing more than 1 survey within the set timeframe |
You can change these configurations at any point and the behavior of the web widget survey will update immediately for your visitors. (See Targeting.)
Are cookies used in Web surveys?
Yes.
There is a single cookie named _delighted_web that Delighted uses to determine if a visitor is eligible for a survey.
Delighted requires that cookies are enabled on a visitors browser prior to running.
Can I change the appearance and placement of the Web survey on the page?
Yes!
You have two appearance options — Popup and Tab. You also have two position options — Left and Right.
| Widget | Description | Image |
| Popup widget |
|
 |
| Tab widget | A clickable element anchored to the left or right side of the page. When clicked, the Tab unfurls → and displays your survey |

|
How can I see detailed information about why a survey is or is not showing?
Use your browser's JavaScript console.
Within the console, you'll be able to determine what events are occurring with the snippet (ex. sampling, throttling, etc.), and how that impacts the display.
For details on accessing the console via Chrome, see their guide on Using the Console.
Can I track the number of impressions the Web survey is getting?
Absolutely!
You can view all details associated with your Web platform’s performance on your Surveys Results tab. We’ll detail how many times the survey has been shown, the total number of responses, and other key engagement metrics.

How long will you display the Thank you page?
If there is no custom text within the Thank You page, Delighted displays the default Thank You message for just a few seconds.
If there is custom text within the Thank You page fields, Delighted CX displays the Thank You page until the "X" icon is clicked. In this case, we leave the Thank You page displayed to ensure respondents have time to review your text and engage with any call-to-action link you may have added.
What happens when a respondent dismisses the web survey?
When a respondent clicks the "x" button to close or dismiss the web survey's widget, we consider the survey "shown." We will not re-display the survey or attempt to re-survey the same respondent until the survey is called again under the targeting conditions you set.
Any questions they have answered before exiting will be saved!